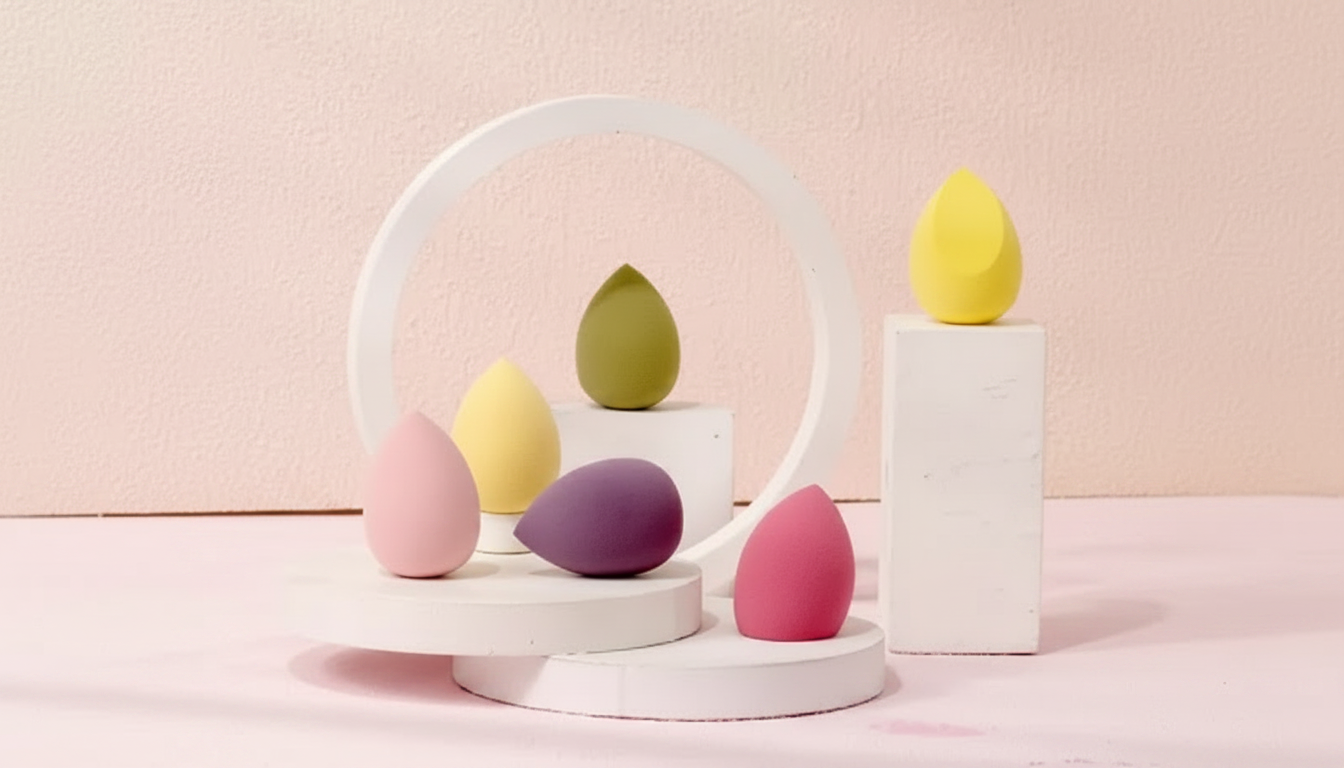
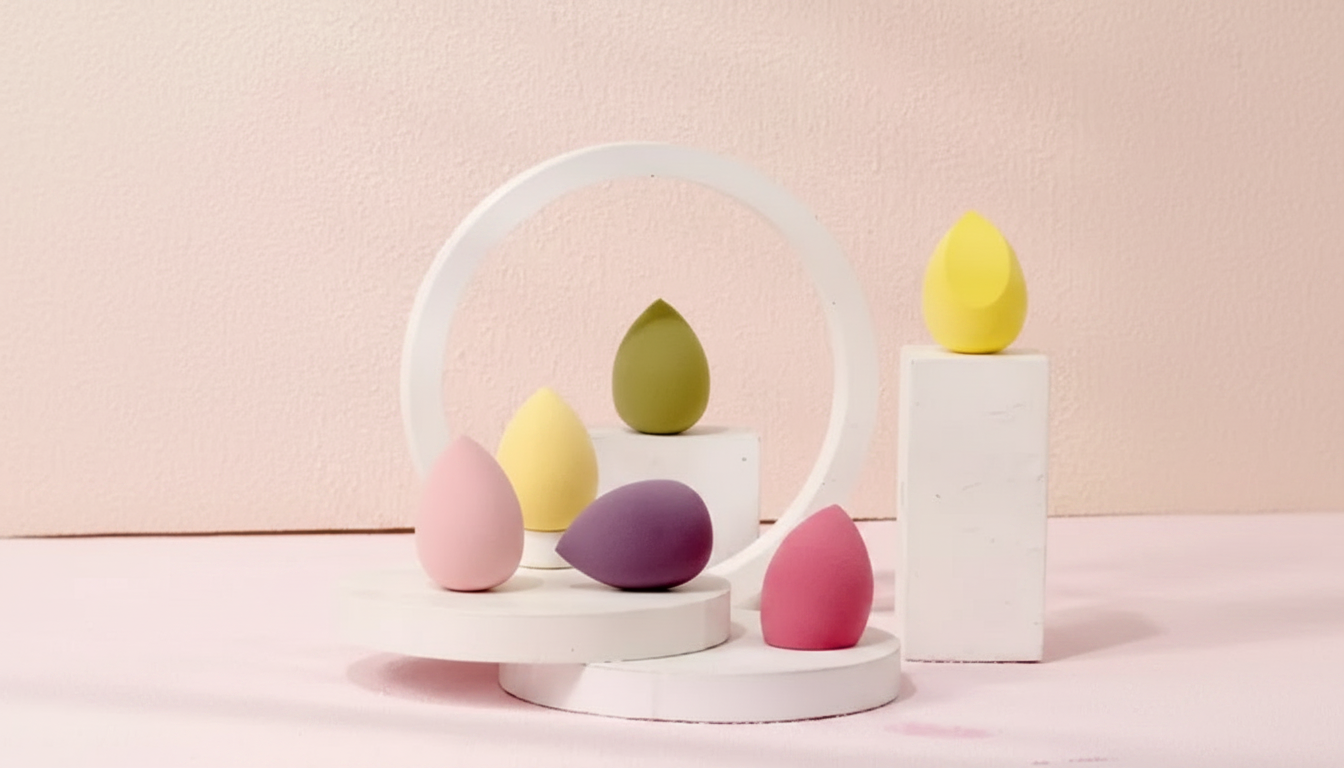
A good sponge can be the difference between makeup that sits on top of skin and makeup that looks like skin. This 4-piece set of beauty egg blending puffs is designed for quick, even application of foundation, concealer, cream blush, and setting products—whether used dry for fuller coverage or damp for a softer, more seamless finish. With multiple sponges on hand, it’s easier to keep tools fresh, hygienic, and ready for travel or daily use. For more guidance, see Foundation (cosmetics).
This set features four egg-shaped blending sponges made for complexion work and gentle diffusing of edges. Having multiples makes it simple to rotate tools: use one for foundation, one for concealer, one for cream color, and keep one clean as a backup for touch-ups or travel. For further reading, see Making Up Hollywood | Sasha Archibald.
| Sponge area | Best for | Application tip |
|---|---|---|
| Rounded base | Foundation on cheeks/forehead/jaw | Bounce and press; avoid dragging to prevent streaks |
| Side surface | Blending edges near hairline and jaw | Use light tapping to soften lines |
| Pointed tip | Under-eye concealer and around the nose | Use minimal product; tap gently to avoid lifting coverage |
| All-over (damp) | Sheerer, more natural finish | Wet, squeeze out water, then blot before use |
If you want a simple, budget-friendly way to keep a few clean sponges ready to go, see the 4-Piece Makeup Sponge Set Cosmetic Beauty Egg Blending Puff for Foundation.
The quickest way to change your base makeup result is deciding whether to use your sponge dry or damp. Both can look great—the best choice depends on the finish you want and how your skin is behaving that day.
A practical approach is to start damp for a seamless first layer, then use a dry sponge (or a dry area of a sponge) only where you want extra coverage—around redness, discoloration, or the center of the face.
Egg-shaped sponges are popular because the shape naturally matches the face: broad surfaces for fast blending and a pointed tip for detail work. Keep pressure light and let the sponge do the smoothing.
For a cleaner-looking base, keep your “brightening” products (like under-eye concealer) separate from deeper-toned products (like bronzer). Using different sponges from the set helps prevent your concealer from turning dull or muddy.
Sponge tools pick up oils, pigments, and skincare residue—especially when used damp—so routine cleaning matters for both performance and hygiene. For general guidance on tool hygiene, the American Academy of Dermatology Association recommends regular cleaning to remove buildup that can irritate skin.
If you’re traveling, let the sponge air-dry completely before packing. For broader cosmetic safety and hygiene context, the U.S. Food & Drug Administration provides helpful information on cosmetic products and safe use.
Use a damp sponge for a softer, more skin-like finish and a dry sponge for fuller coverage. To dampen it properly, fully wet the sponge, squeeze out the water well, then blot so it’s only slightly moist before blending.
Wash sponges regularly—especially if you use them damp—to prevent buildup and keep application smooth. Replace them if they tear, develop a persistent odor, won’t come clean, or start feeling rough or overly absorbent.
Yes—use them to lightly press setting powder into the skin rather than swiping, which can disturb your base. They’re best for liquids and creams, with powder used mainly for gentle setting.








Leave a comment