Sculpt and Glow Gua Sha Checklist: A Simple At-Home Facial Massage Routine for Lifting and Definition
A gua sha routine works best when it’s consistent, gentle, and done in the right order. When you keep the steps simple (and repeat them the same way each time), you’re more likely to stick with it—making it easier to support a refreshed, less puffy, more defined look over time. Below is a straightforward checklist-style routine that covers prep, technique, and a quick 5-minute flow you can do at home with almost any gua sha tool shape and a good “slip” product.
What This Checklist Helps With
- Creates a clear order of steps so the routine stays quick and repeatable
- Encourages light, controlled pressure to help avoid tugging or irritation
- Focuses on common goals: reducing puffiness, improving the look of facial contours, and easing tension
- Includes reminders for tool angle, stroke direction, and pacing
- Works with most facial oils or slip products and any standard gua sha tool shape
For best results, think of gua sha as a gentle massage technique—not a “scrape harder for faster results” method. If you’re new to facial massage, it can also help to review basic skincare fundamentals from the American Academy of Dermatology Association, especially around cleansing and barrier support.
Before You Start: Skin Prep and Safety Basics
- Cleanse hands, face, and tool; start on clean skin to reduce irritation risk
- Apply a face oil, balm, or serum with enough slip so the tool glides (never on dry skin)
- Keep pressure light-to-medium; aim for a gentle drag, not deep scraping
- Hold the tool almost flat (about 10–20°) so the edge hugs the skin
- Avoid active breakouts, open cuts, sunburn, or inflamed rashes; postpone if skin is sensitized
- If swelling, pain, or bruising occurs, reduce pressure and frequency
If you’re intentionally aiming for a “de-puff” feel, it may help to understand the basics and cautions around lymphatic-style massage. The Cleveland Clinic offers a useful overview, including when to be careful and when to ask a professional.
The 5-Minute Sculpt-and-Glow Routine (Checklist Order)
Do each stroke slowly, with steady glide. Repeat evenly on both sides of the face so the routine stays balanced.
- Neck first: Glide from the base of the neck up toward the jawline in slow strokes to warm up.
- Jawline: Sweep from the chin toward the ear, keeping the tool nearly flat.
- Cheeks: Start near the nose and glide outward toward the ear; stay on the cheekbone line for a lifted look.
- Under-eye (optional): Use the gentlest pressure and a rounded edge; move from inner corner outward.
- Brows/forehead: Sweep from brows up to the hairline, then outward toward the temples.
- Finish: Do a few temple and ear-area sweeps to release tension and complete the routine.
Quick Routine Checklist by Area
| Area |
Direction |
Strokes |
Pressure |
| Neck |
Upward to jaw |
5–10 per side |
Light |
| Jawline |
Chin to ear |
5–10 per side |
Light–medium |
| Cheeks |
Nose to ear |
5–10 per side |
Light–medium |
| Under-eye |
Inner to outer |
3–5 per side |
Very light |
| Forehead |
Brows to hairline; center to temples |
5–10 |
Light |
Technique Tips That Make the Biggest Difference
- Move slowly: Fast strokes can increase tugging and reduce control. Think “glide,” not “rub.”
- Anchor gently when needed: Use fingertips to lightly hold the skin in place around the mouth/jaw area, especially if you notice pulling.
- Keep the tool angle low: A steep angle is more likely to catch and tug. Aim for the tool to nearly “hug” the skin.
- Match both sides: Do the same number of strokes on each side for a more symmetrical finish.
- Relax the jaw and breathe: If you clench while massaging, tension can build right back up.
- Consistency beats intensity: Short daily sessions typically feel better (and are easier on the skin) than occasional long, aggressive sessions.
Common Mistakes to Avoid
How Often to Use It (and What to Expect)
Download and Use: Keeping the Routine Effortless
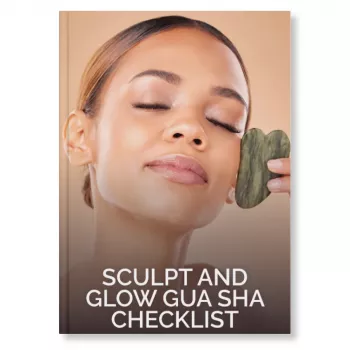
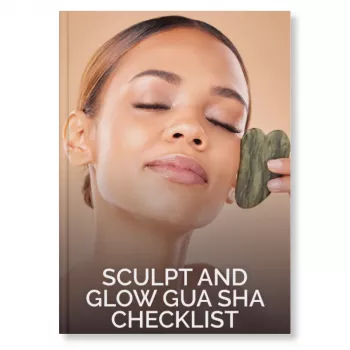
- Save or print the Sculpt and Glow Gua Sha Checklist (digital download) so the order stays consistent.
- Pair the routine with a regular skincare step (like applying your nightly face oil) so it becomes automatic.
- Use the table above as a pacing guide—fewer controlled strokes are better than rushing.
- Travel-friendly tip: keep a mini slip product and a clean pouch so the tool stays hygienic in a bag.
- If your slip product starts to pill or drag, switch it—smooth glide matters more than “powering through.”
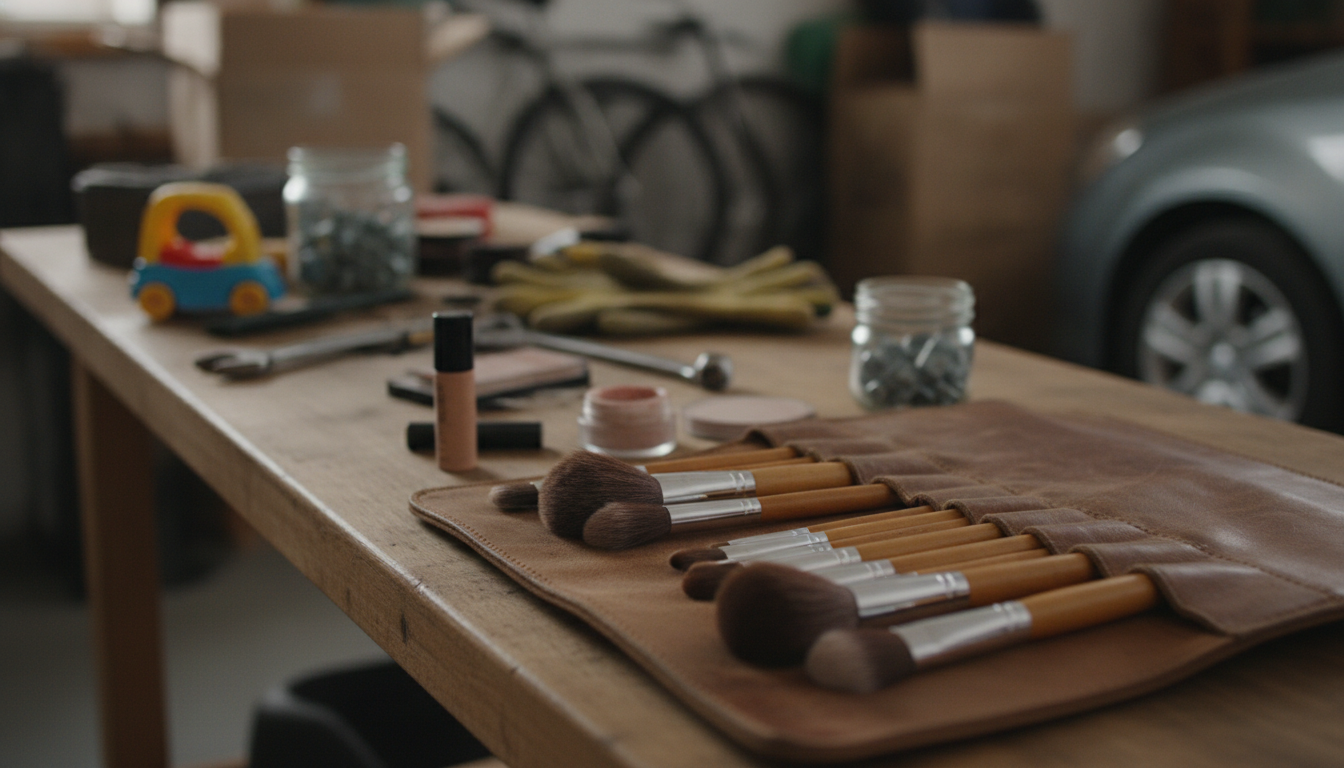
If you like to finish your routine with a polished base, a soft blender can help keep foundation smooth after skincare. The 4-piece makeup sponge set for smooth foundation application is a simple add-on for quick, even blending.
And if you’re leaning into a more defined look overall, accessories can highlight the contours you’re enhancing. The Ultimate checklist for picking earrings that flatter your face is an easy way to match earrings to face shape and styling goals.
FAQ
Can gua sha cause bruising or broken capillaries?
Bruising is usually a sign of too much pressure, a steep tool angle, or not enough slip. Keep pressure light, hold the tool nearly flat, and avoid sensitized or inflamed areas; if bruising happens, stop and consider checking in with a dermatologist or licensed professional if you’re concerned.
Should gua sha be done before or after moisturizer?
Do gua sha after applying an oil, balm, or serum that gives plenty of glide. You can layer moisturizer afterward to seal everything in—what matters most is avoiding any dragging on dry skin.
How long does a simple routine take for beginners?
Most beginners do well with 3–7 minutes. Start with neck, jaw, and cheeks first, then add under-eye and forehead once the angle and pressure feel easy to control.
Recommended for you











Leave a comment